Landing light and wings section 17 Top Wing Skin
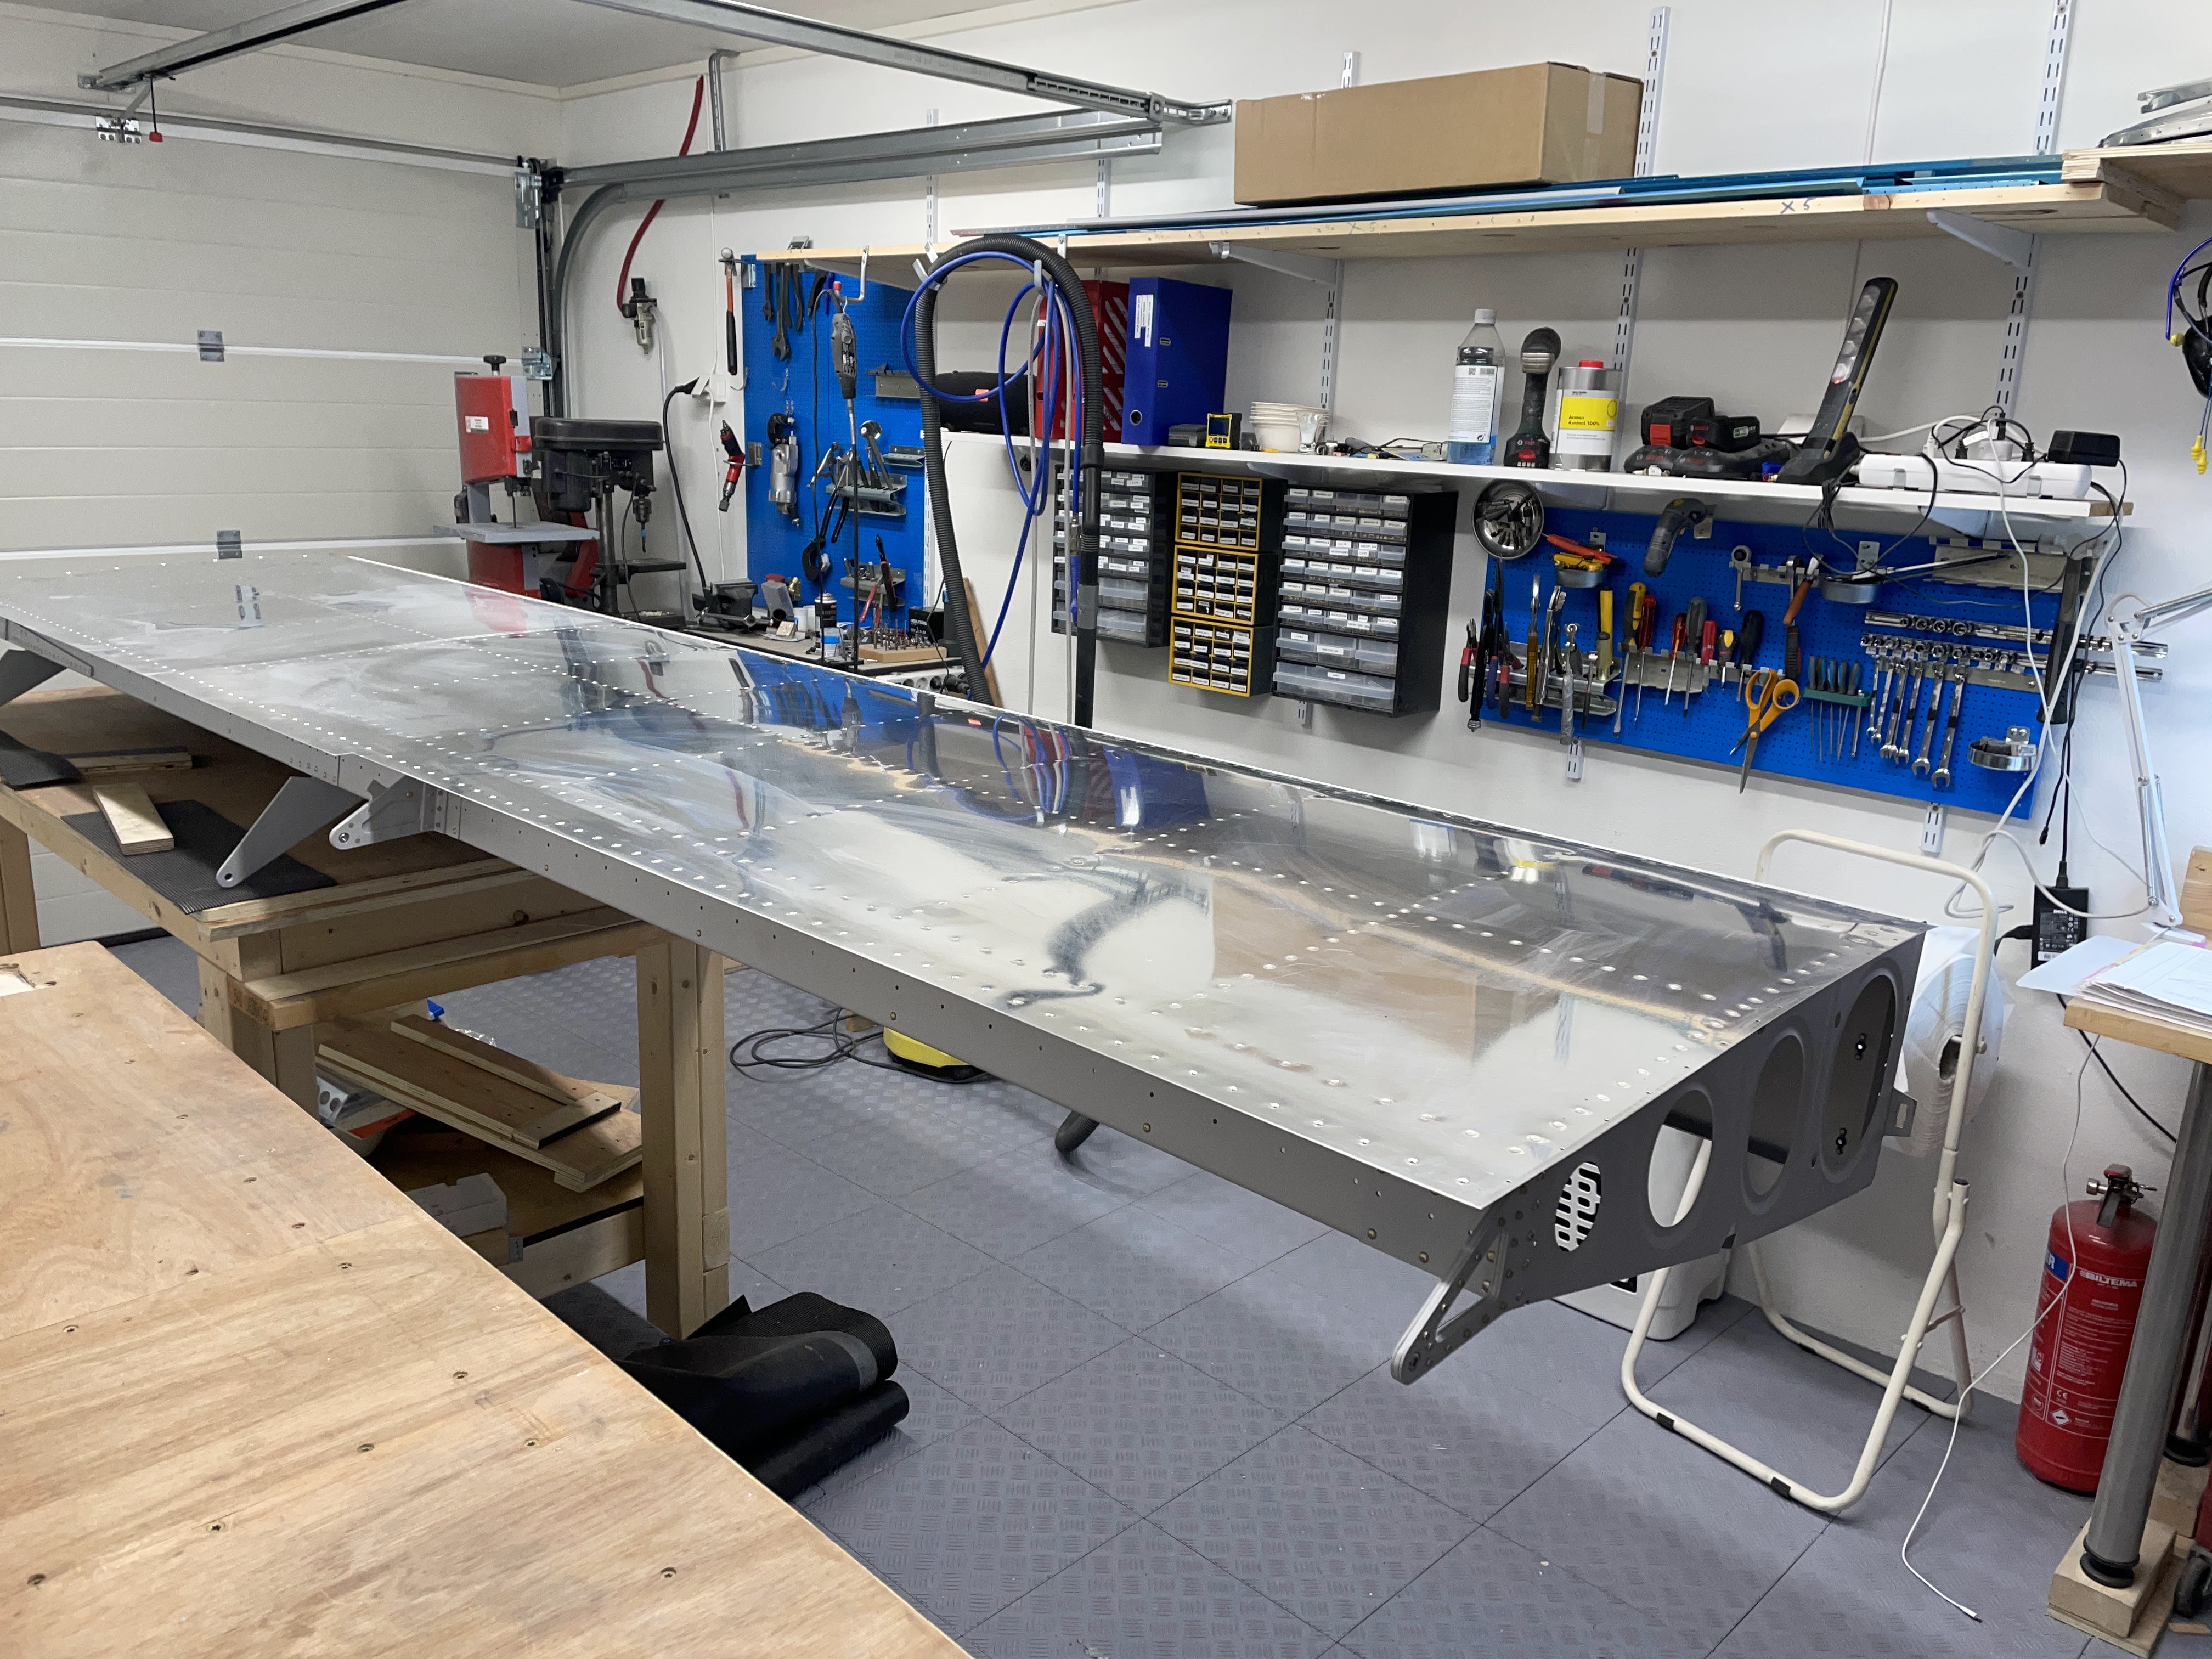
Today the top wing skin section was completed.
Since last post I've also prepared the landing light but run into problem when doing the landing light lens. The acrylic cracked, so new ones is ordered.
The wing rear spar (section 15) i also completed (mandatory before riveting the top skin).
Next now will be to attach the outboard leading edge.

 |
| Details of the joint between the inner and outer skin. Some material is removed on the forward part, to get a more flush transition from the fuel tank skin. |


 |
| It's difficult, if not impossible, to do the riveting without a helper. |


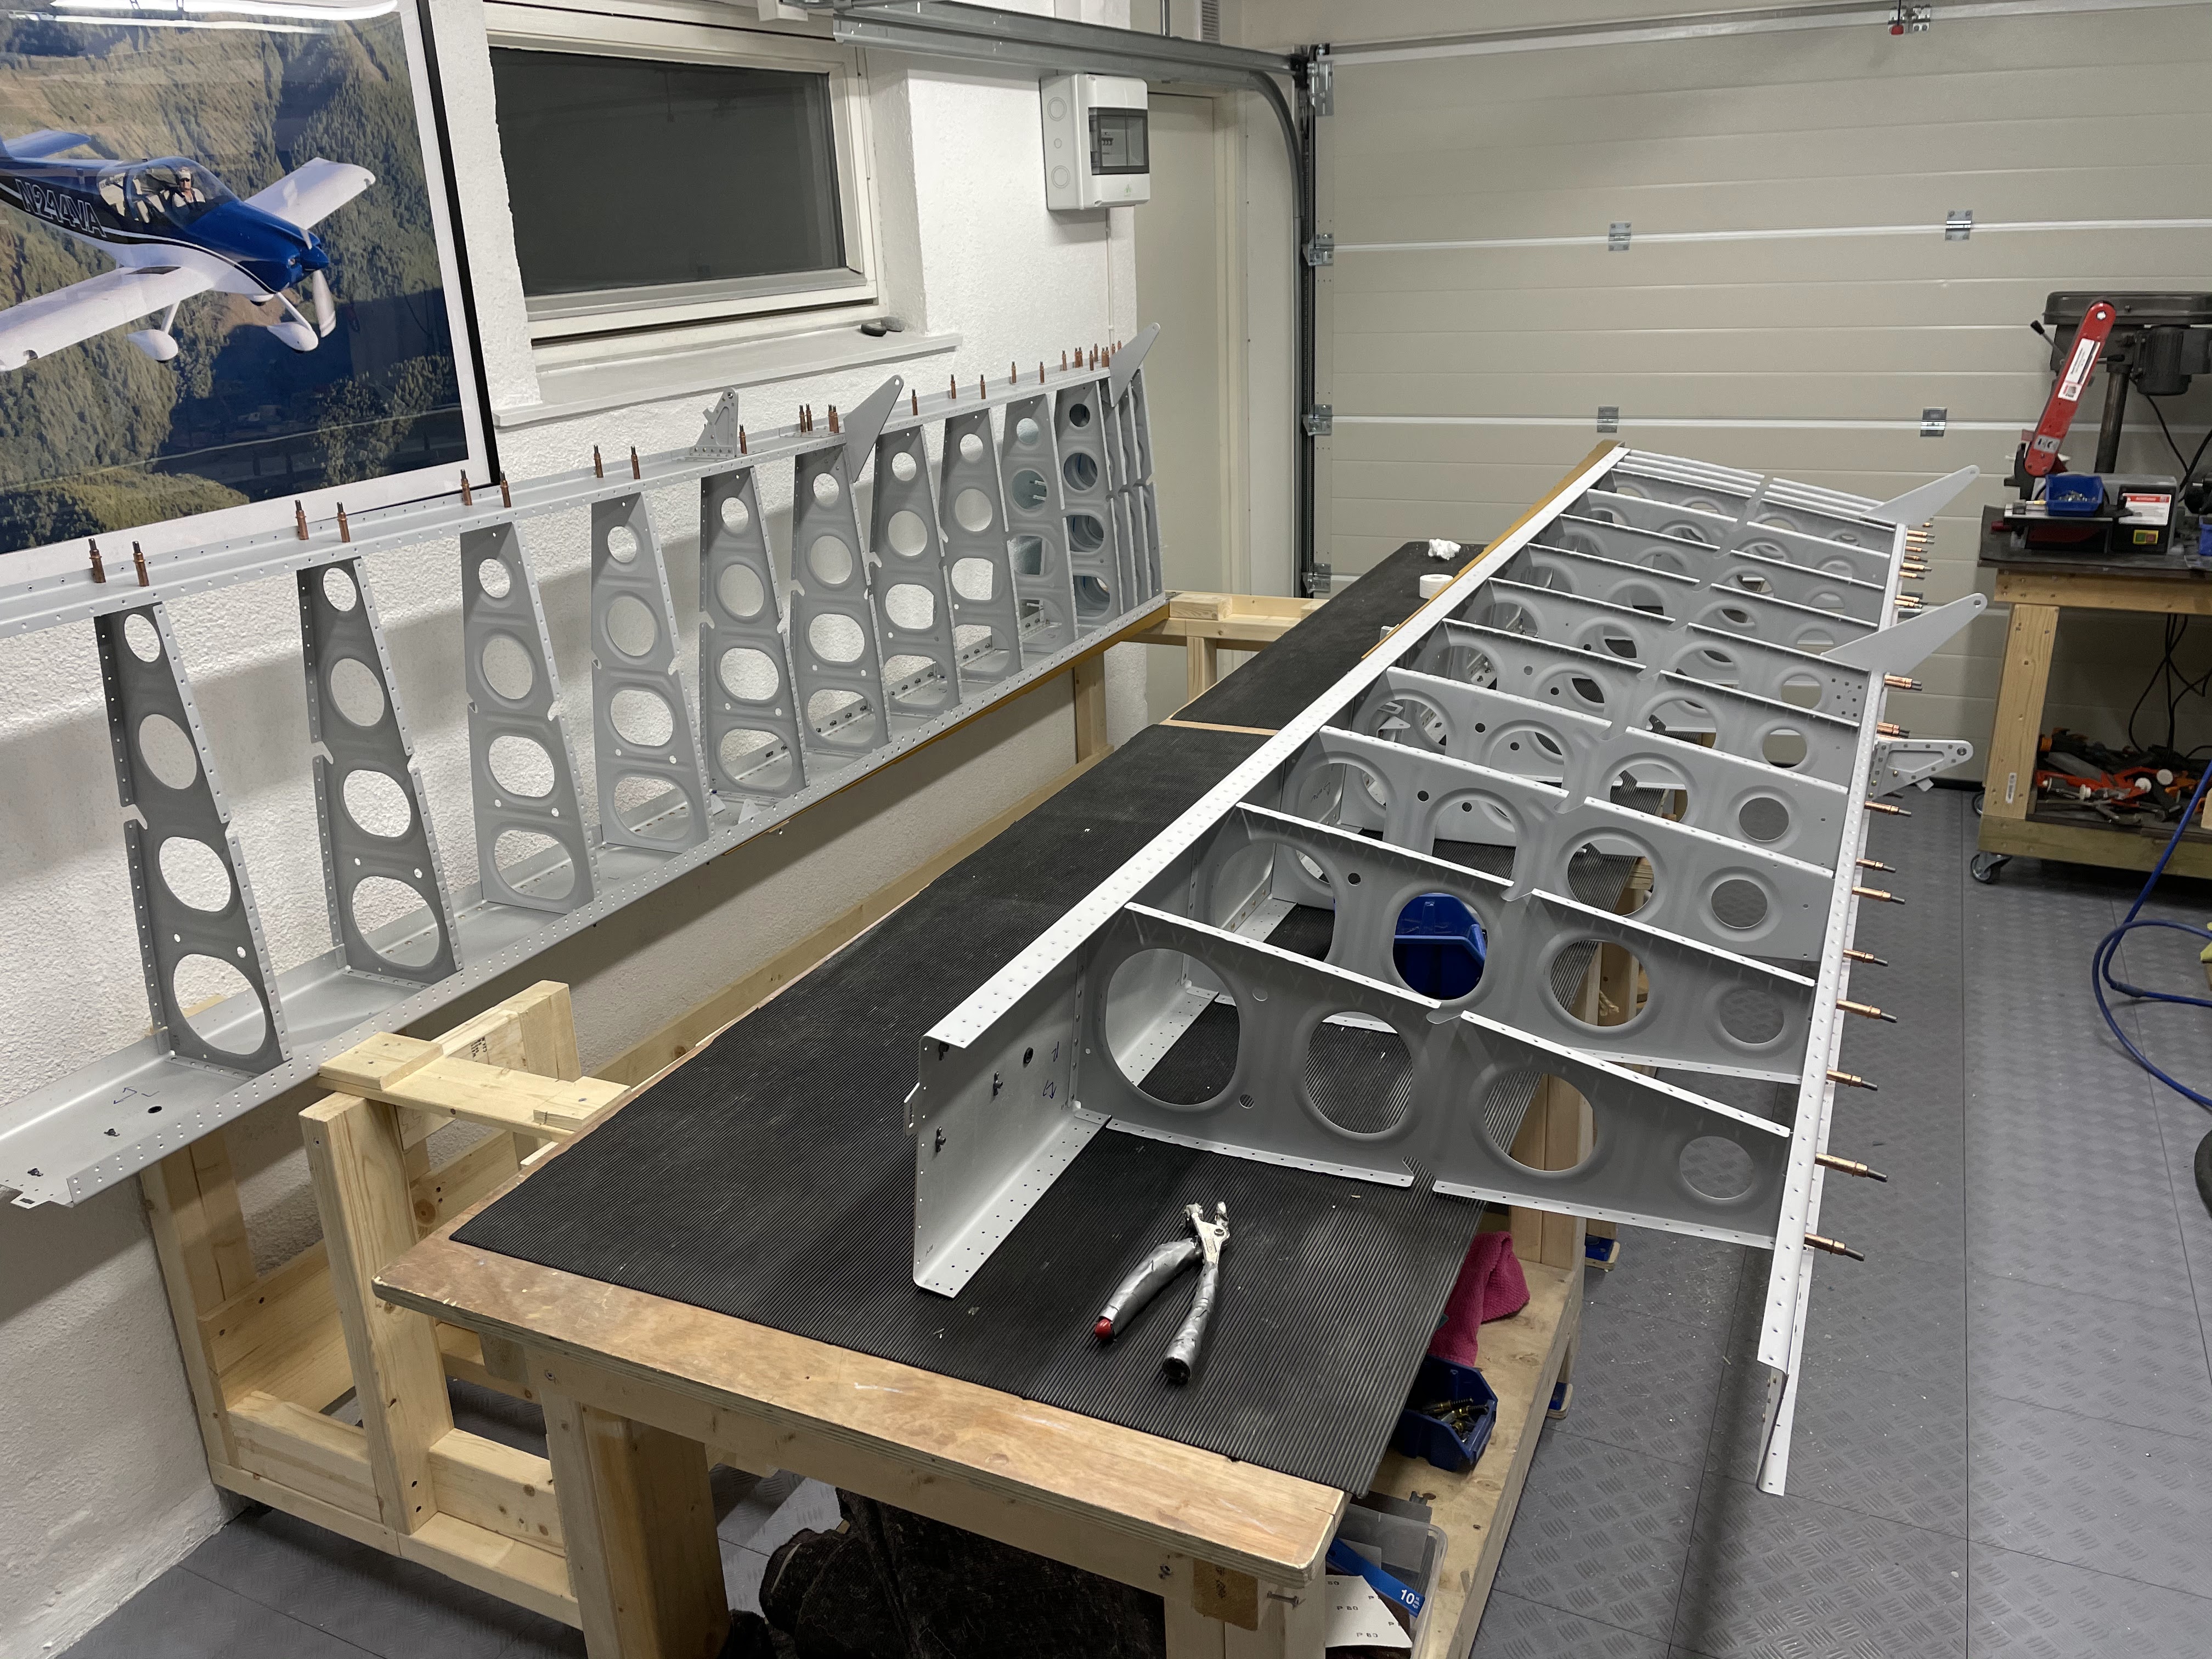 |
| The rear spar are clecoed in place, and ready to be riveted. |
More from Steinar
The wing autopilot servo, pitot heat with the mast, nav antenna, som connectors, and the sticks arrived from Steinar. I then have everything to complete the wing wiring and pitot static.

Landing lights
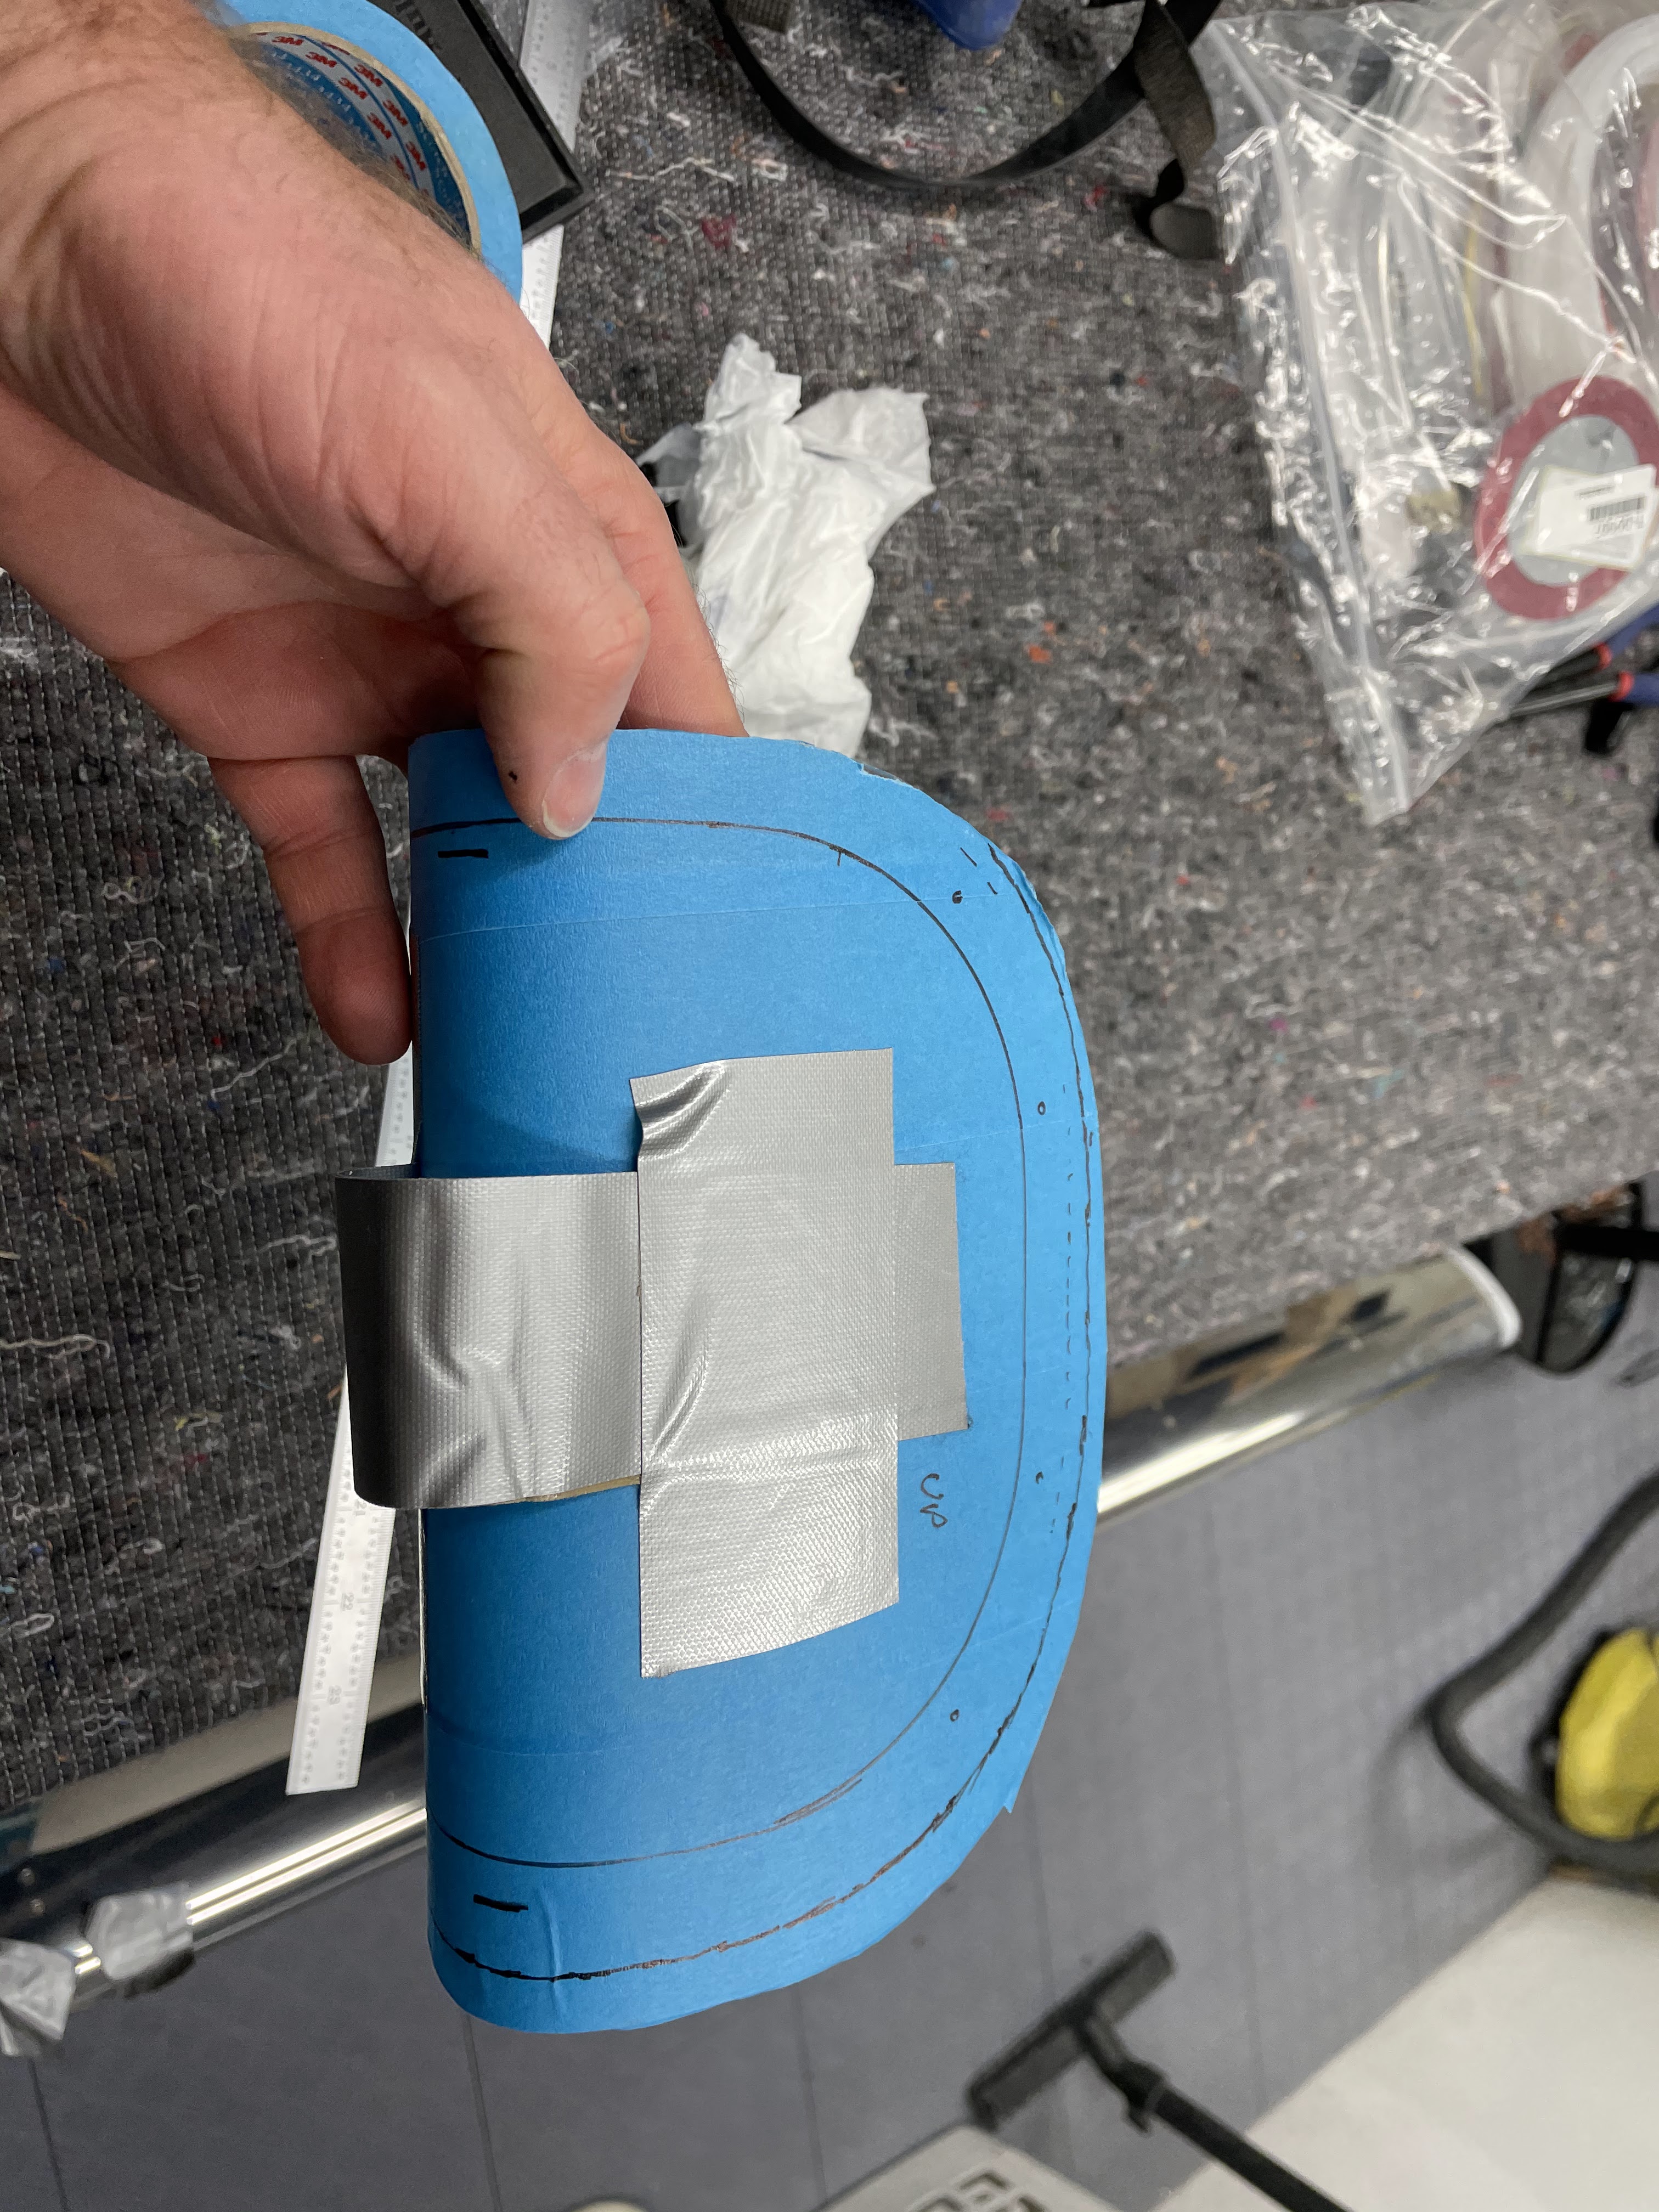
As mentioned the landing light lenses cracked during drilling and also countersinking. I didn't any such problem on the canopy, so I got a bit surprised by how easy it cracked. I've ordered new ones (20$ each), and also some plexi drill bits. But my conclusion is that I need higher temperature when working with acrylic/plexi. I've tested by heating the broken lenses, and was not able to get it to crack then.
 |
| Aero Led landing lights attached to the hardware from the Vans landing light kit. |


 |
| A cracked hole.This was the first one. |
 |
| This is the second one on the other wing. The drilling wnt ok, but it cracked when doing the countersinking. |
Comments
Post a Comment