Update: Canopy and Window almost done, wing kit a bit delayed
Section 38 is coming to an end. Today I epoxied the canopy to the canopy assembly, and will be a couple of iteration with sanding and filling.
The wing kit is a bit delayed, and will arrive in Oslo 28th September. The container didn't get loaded on the correct ship😕

 |
| First fitting of the aft canopy |

 |
| The aft canopy has to be cut to align with the roll bar. After trying different approaches, I ended up with the Dremel diamond cutting wheel. |

 |
| Ready for drilling. |
 |
| I had to do some touch up on the interior paint. |
 |
| The businh doubler painted and the latch link is painted. |
 |
| Initial test of the canopy frame. |
 |
| Then with the canopy attached. |

 |
| The compass and the Garmin GI-260 AOA (angle of attack) indicator trial fit. |
 |
| Yepp. It works. |
 |
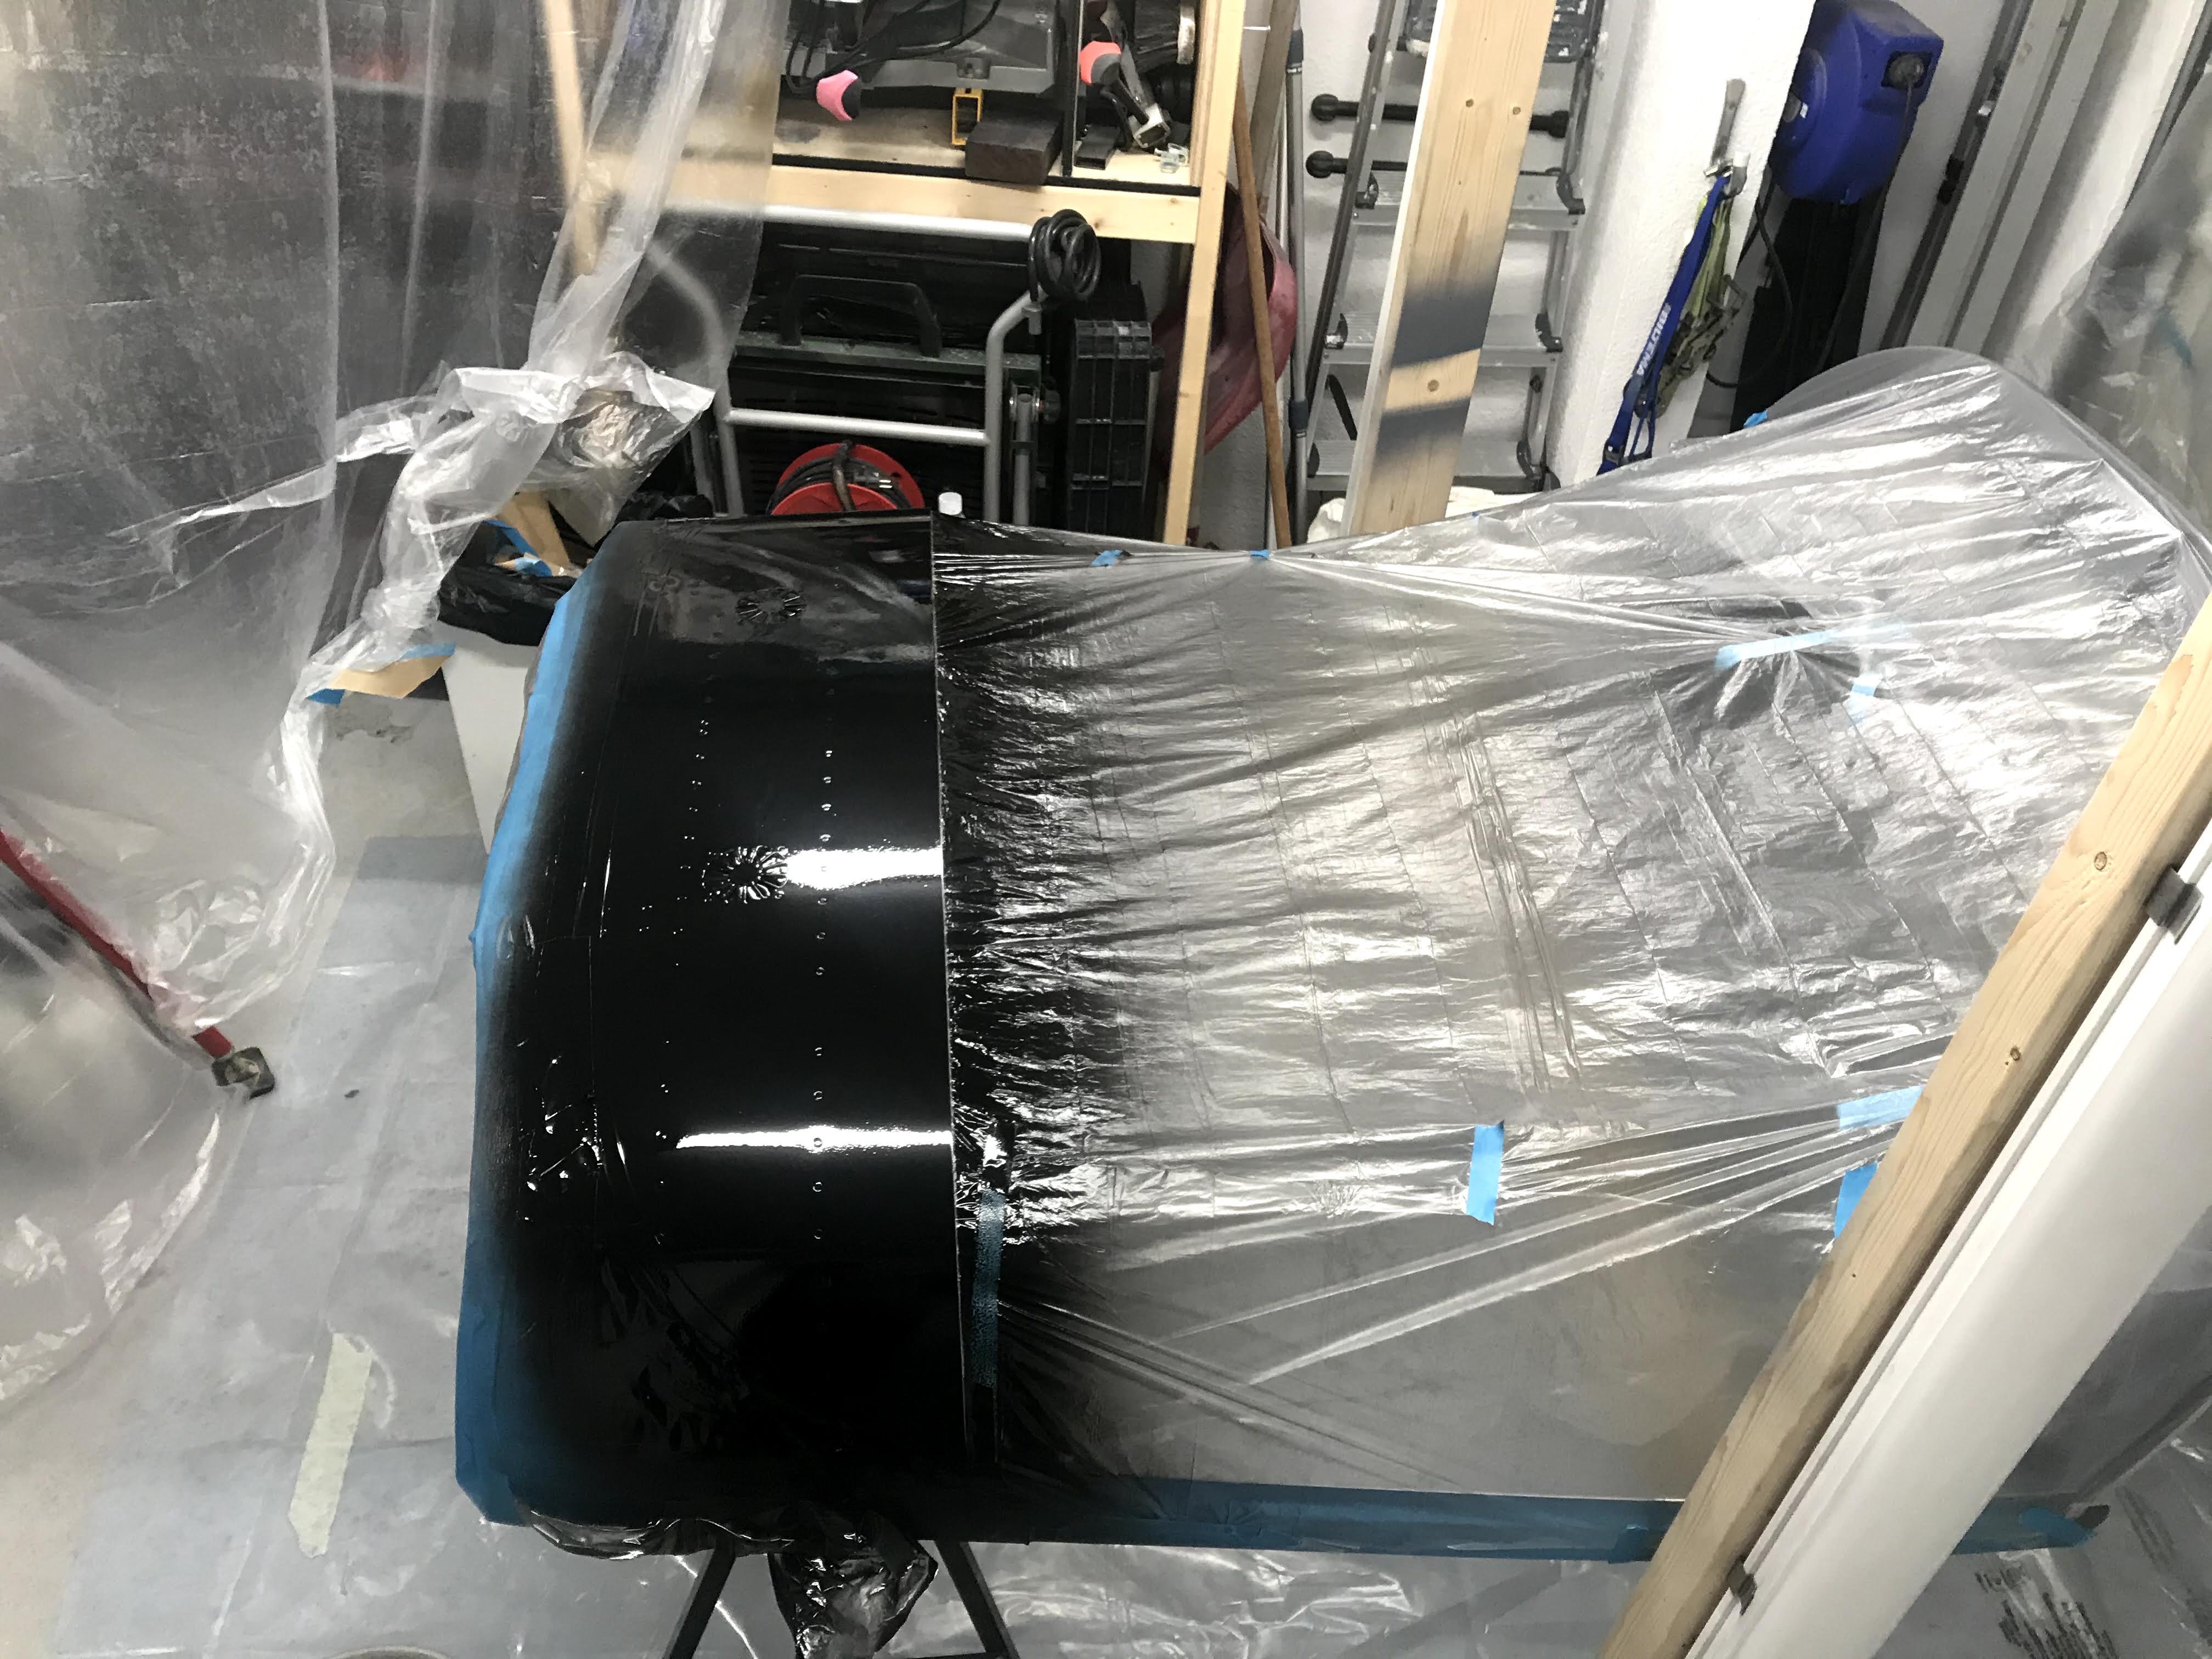
| Painting the inside of the canopy assembly in battleship grey as the rest of the interior. |
 |
| Ready for glareshield painting. |
 |
| The result turned out great, after a few layers. I started with Stewart System midnight black with flatenner. But I was happy with it. To shiny. So I tried a rattle can flat black from a local store. I was not happy that one either, so in the end I ended up using a engine rattle can paint from Biltema (36-7413). It was easy to apply. |


 |
| The avionics/defroster fans installed. |
 |
| Compass and GI-260 in place. |

 |
| Tightening the screws on the aft edge. The sealing will go in between the thin strip and the canopy frame. |
 |
| Step one to "glue" the canopy to the frame is to fill the void between the canopy edge and the skin. |

 |
| The workbench prepared wit to layer of thick paper to cut through when preparing the fiberglass. Vans has a great video on how to do this whole process. |
 |
| All set and ready. The manual indicates a full 4 hour session to complete this. |
 |
| First layer with tinted epoxy applied. I used West System black color. |
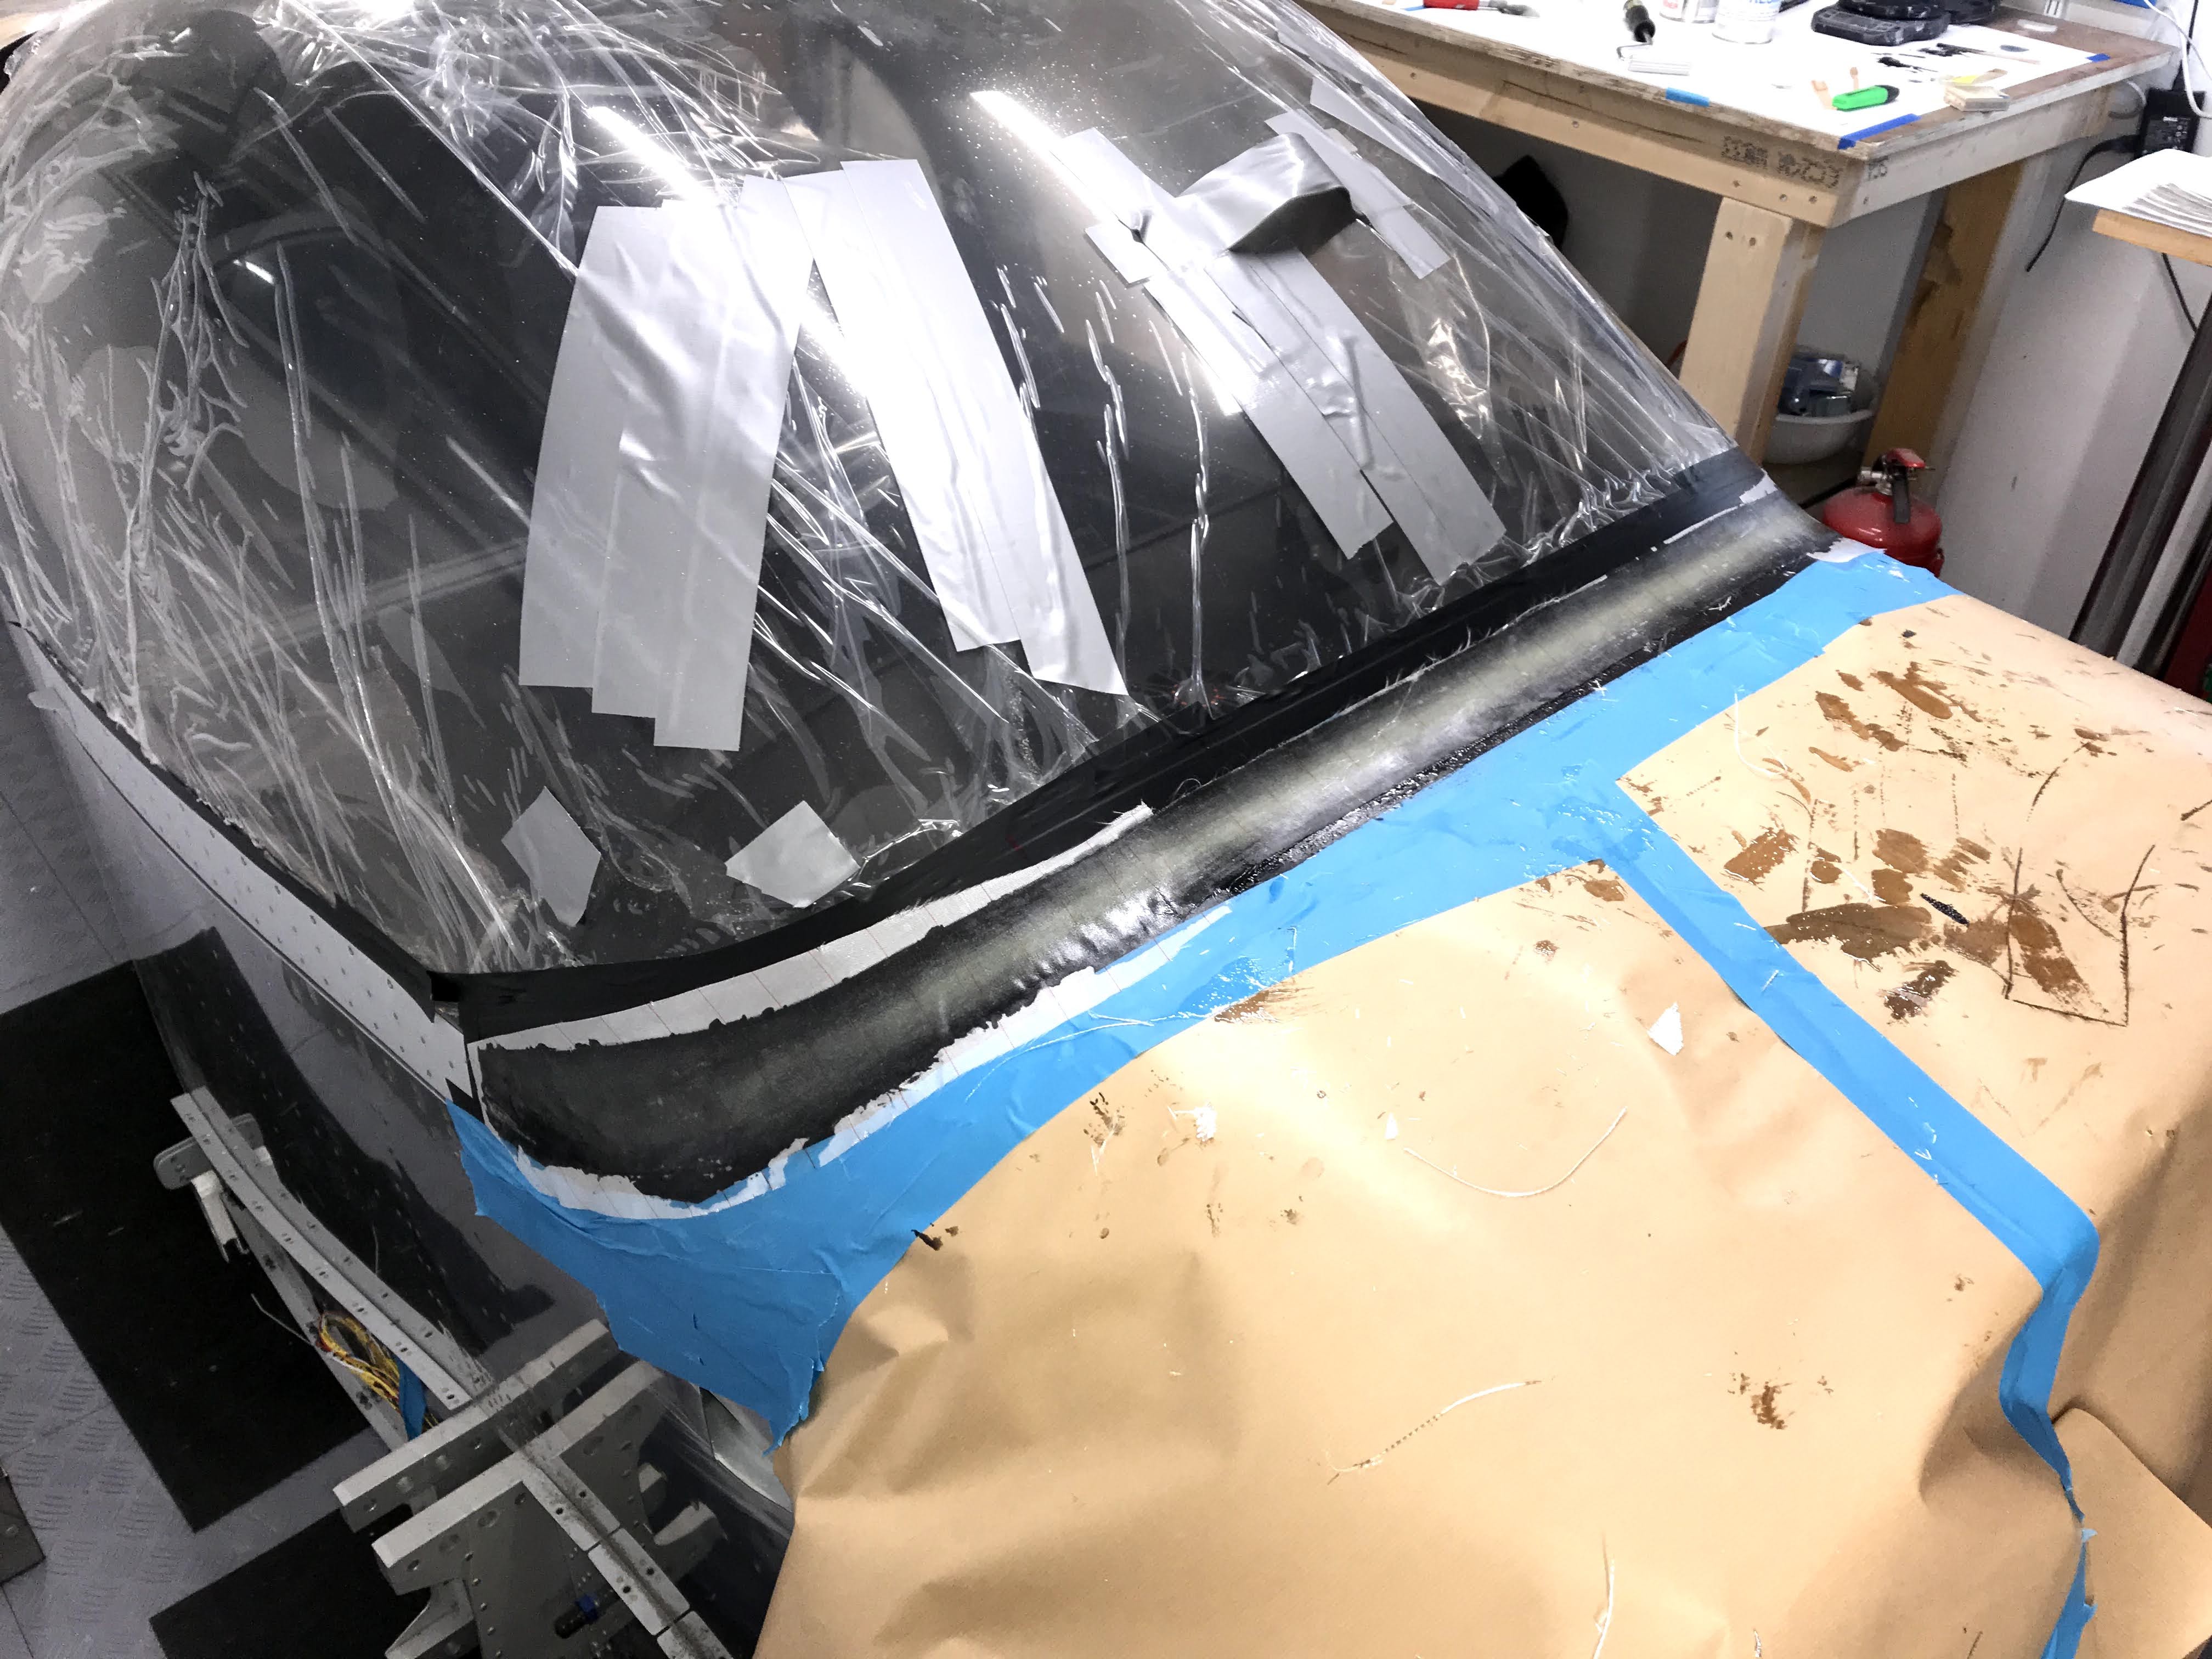 |
| Completed with the peel ply applied. |
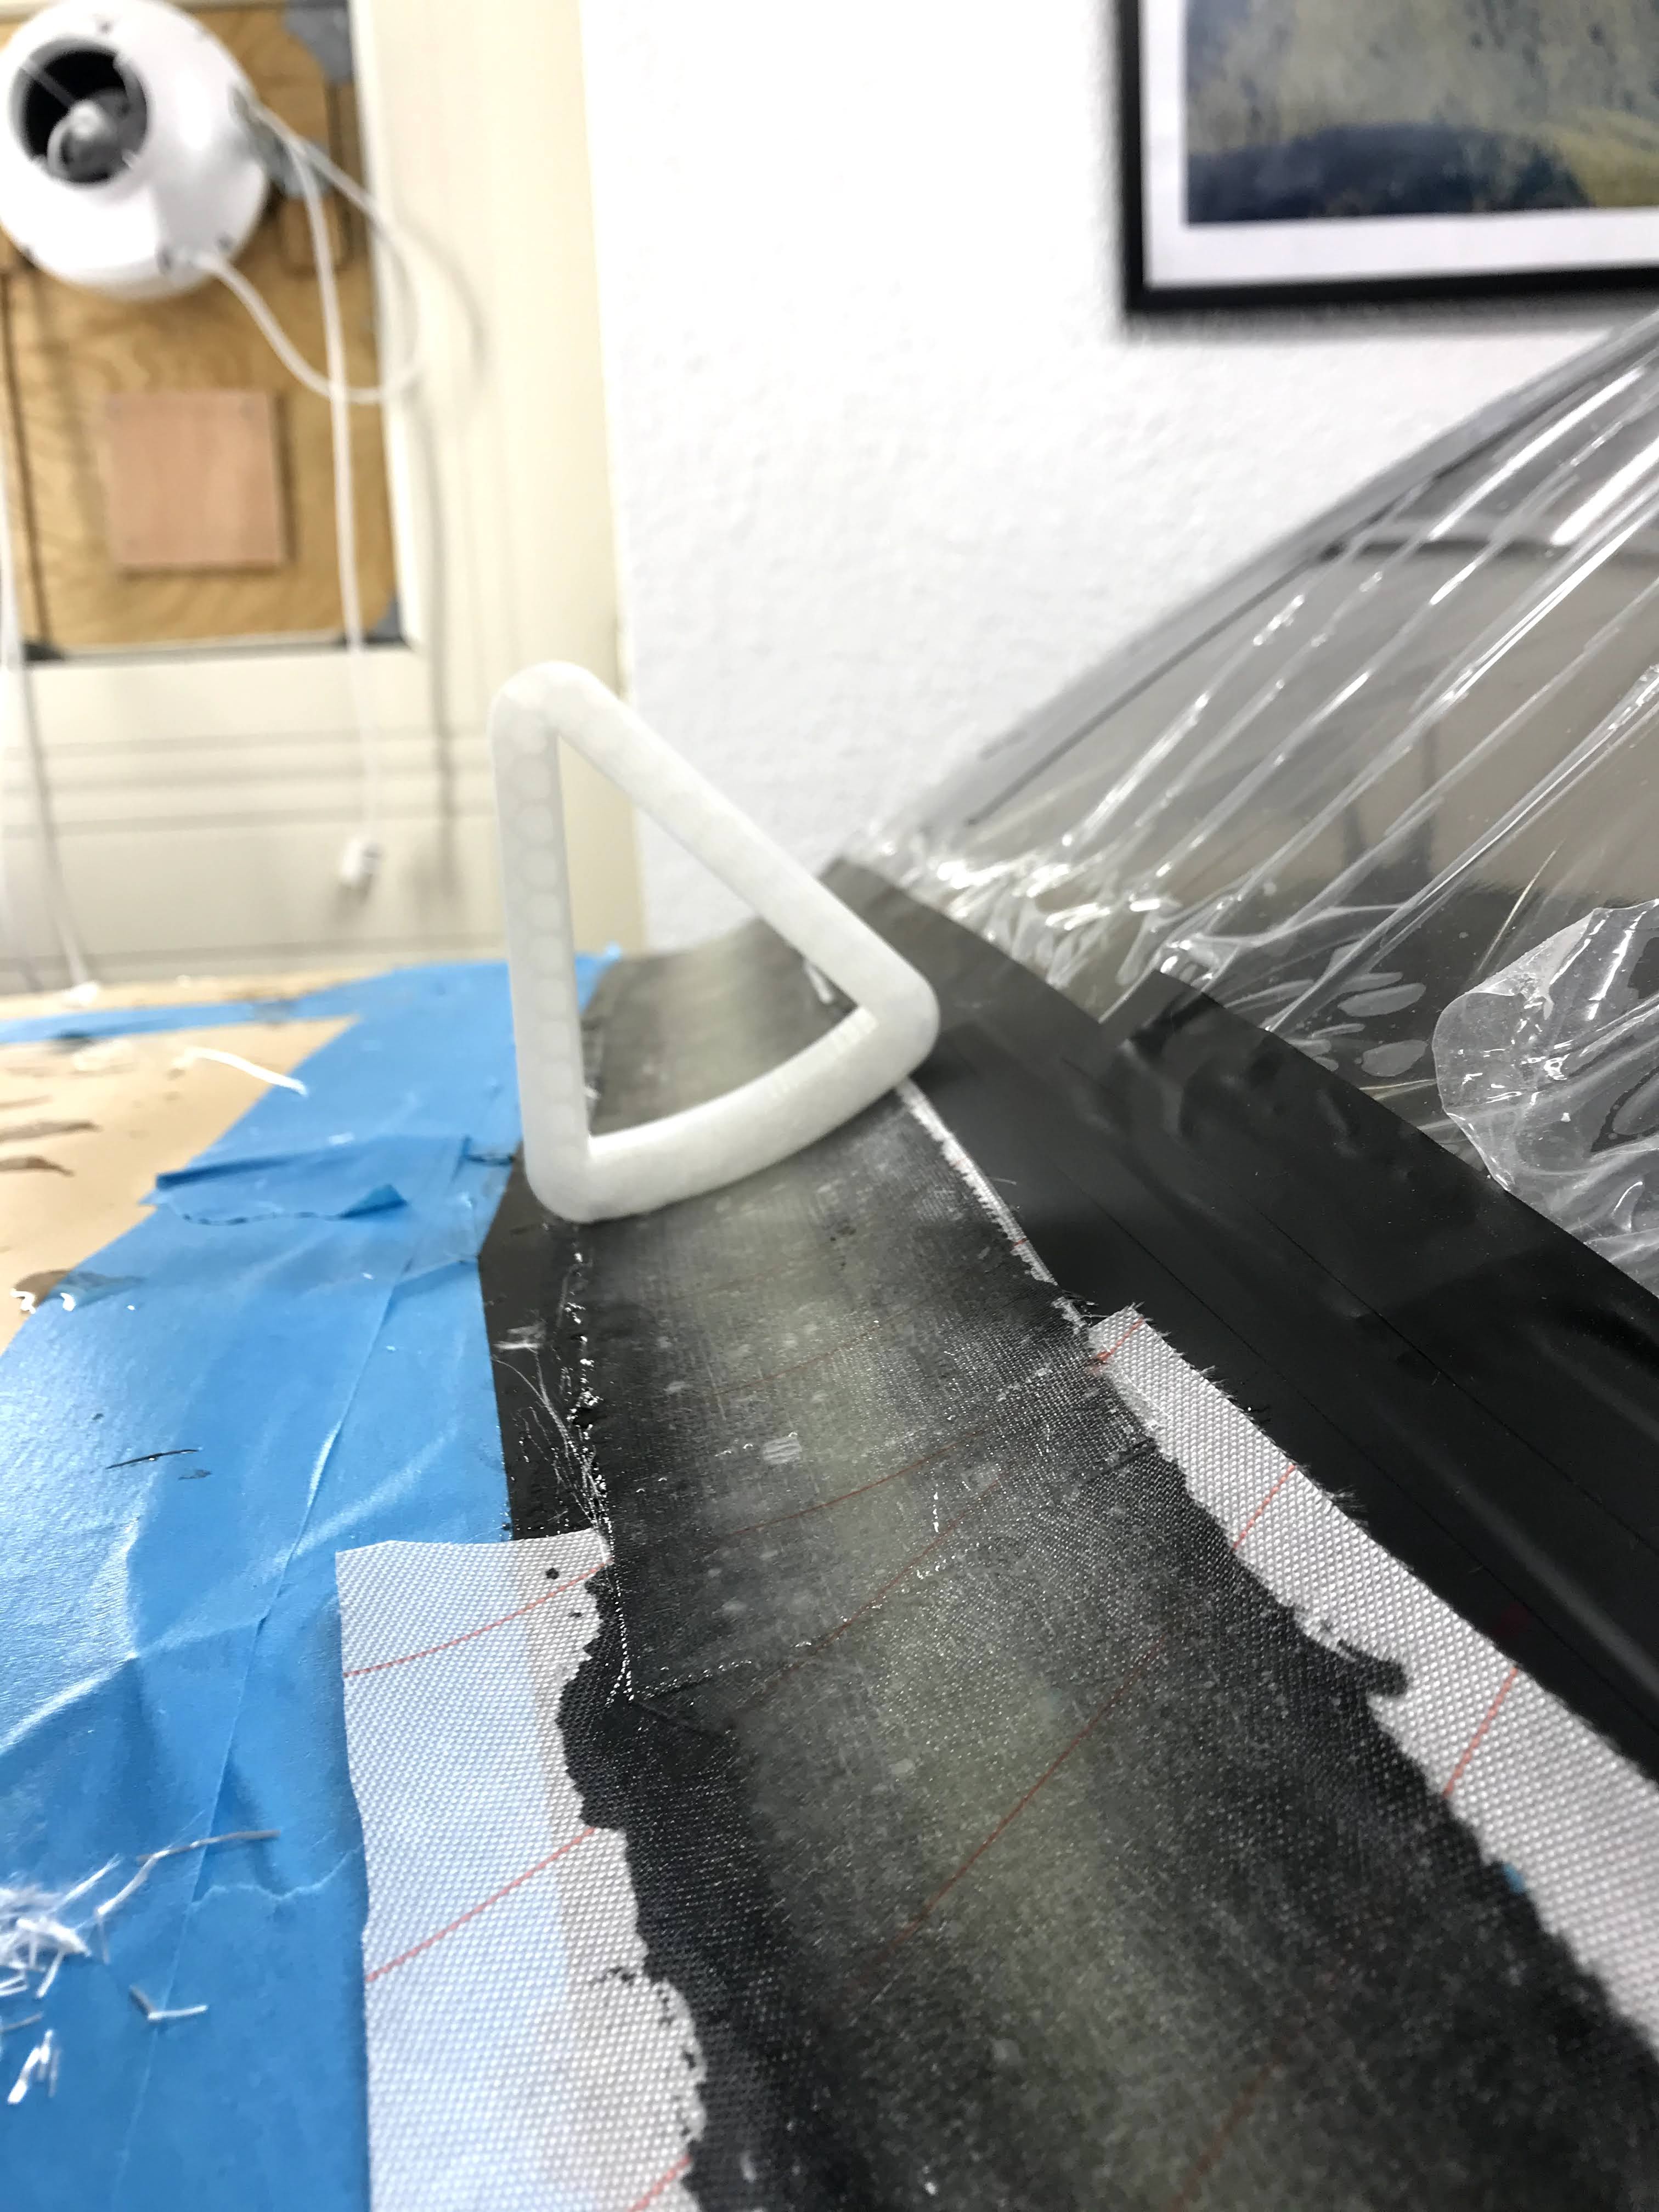 |
| The radius is ok - at least in this spot😊 |
 |
| On of those days with low ceiling - but majestic above. Looking forward to many such experiences in the RV-14. |
Comments
Post a Comment