Elevator progress
I've worked another 27 hours since last post (3. March), and status is now that I'm ready to pull the blind rivets on the internal ribs (E1008), and then to proceed with riveting the front spar assembly to the left and right skin assembly.

My goal is to have the elevator completed by next weekend. I've ordered the crimp tool from Stein Air required in step 09-24 step 10. I also added some extra pins and sockets in case I should scrap some of the supplied one (they are quite small).

My goal is to have the elevator completed by next weekend. I've ordered the crimp tool from Stein Air required in step 09-24 step 10. I also added some extra pins and sockets in case I should scrap some of the supplied one (they are quite small).
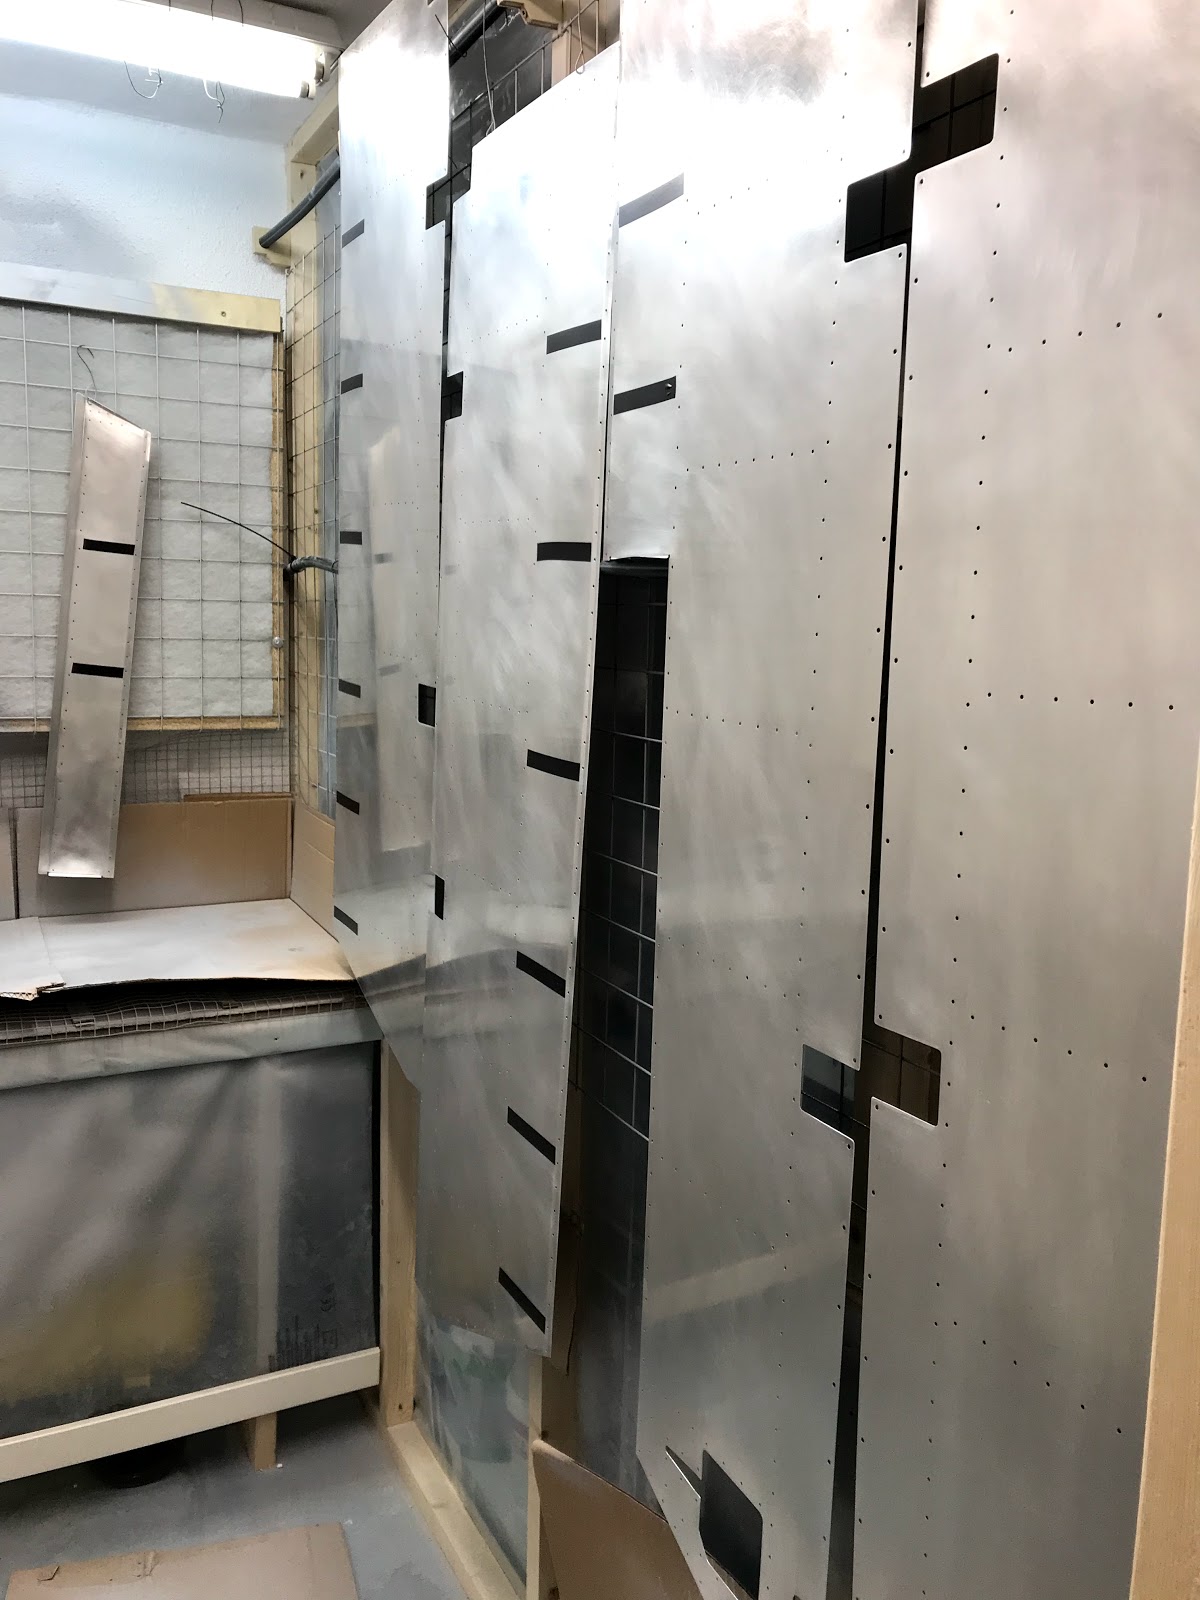 |
| The skins ready for priming (Friday 8th March). |
 |
| A lot of dimpling has to be done. |
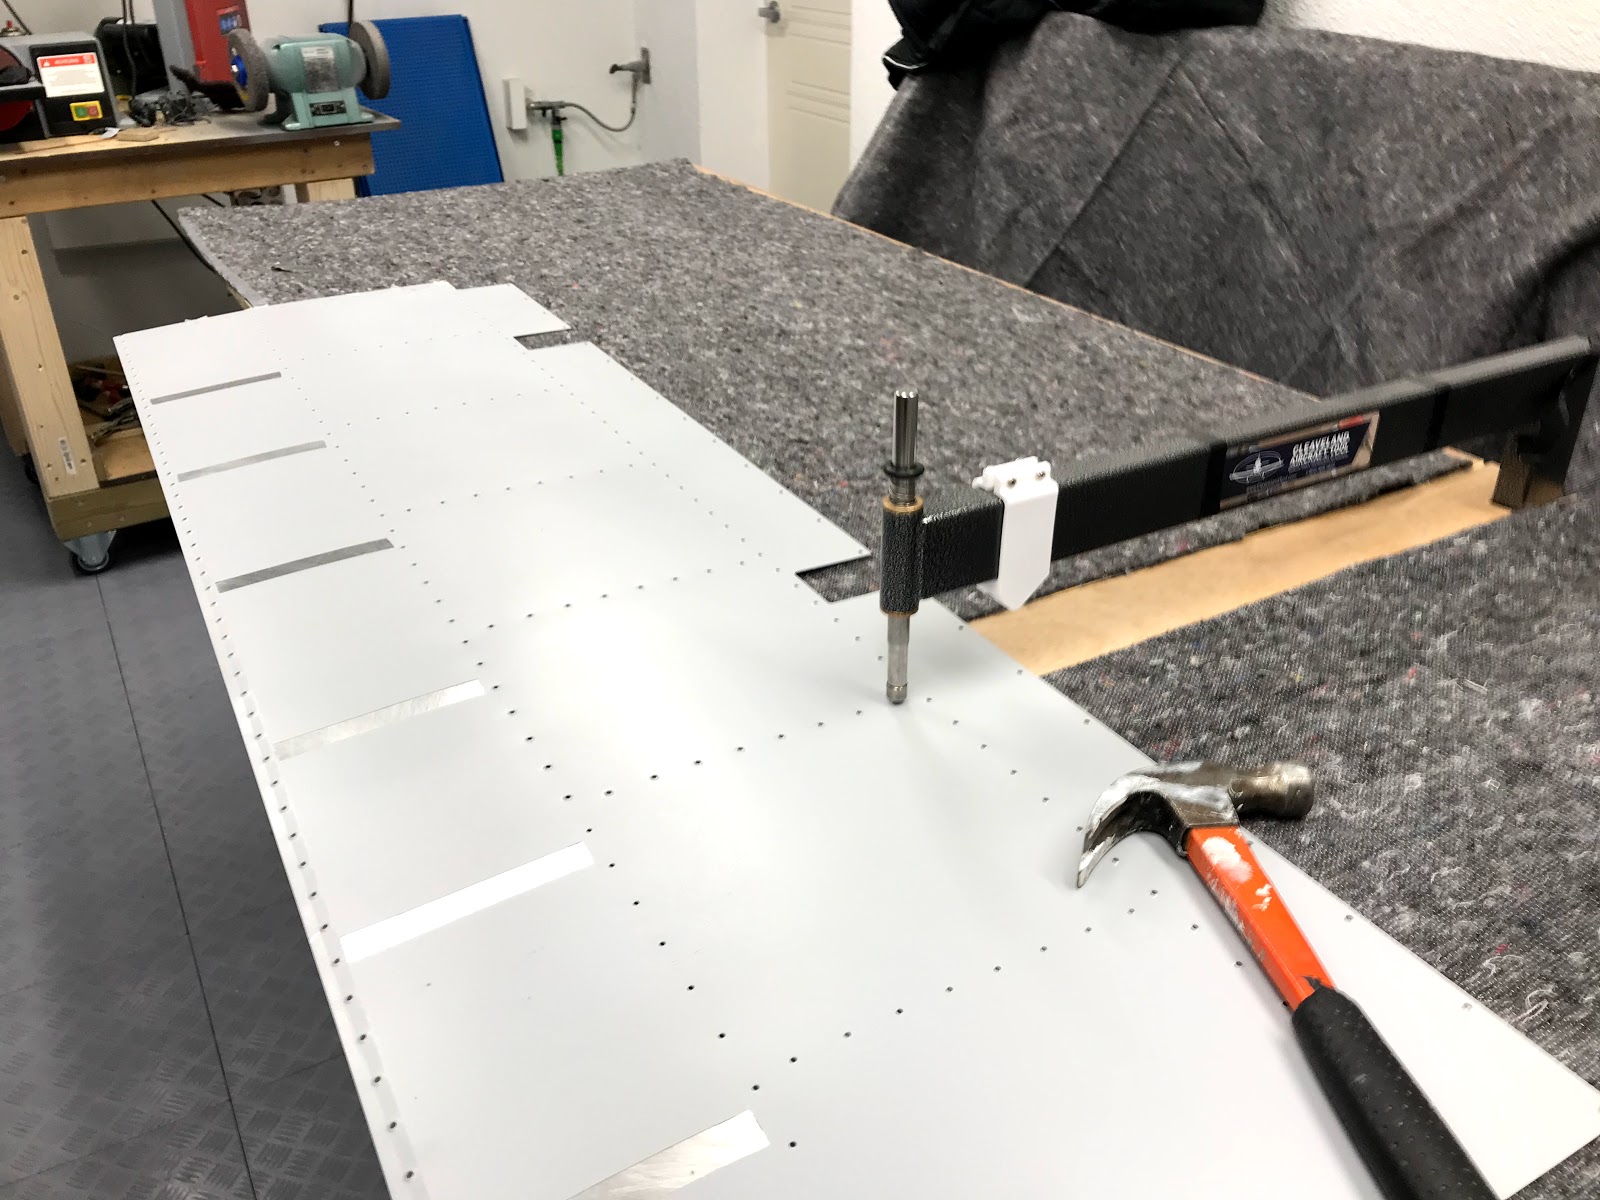 |
| Dimpling the skins with the c-frame. |
 |
| The manual calls for AD3-3.5 rivets on the Elevator Trim Pushrod, but that is definitely to short. 4.5 length fits perfectly. I used the squeezer to double flush rivet the three parts together. |
 |
| The two trim tab parts ready for rivets. The contact areas for the foam bars is scuffed. I had forgot one of the areas, and had to mask up the area with tape and use Acetone to get the priming off. |
 |
| Riveting the trim tab spar and tab horns to the bottom skin. |
 |
| Finished! |
 |
| Riveting the two tip ribs together. Quite straight forward. |
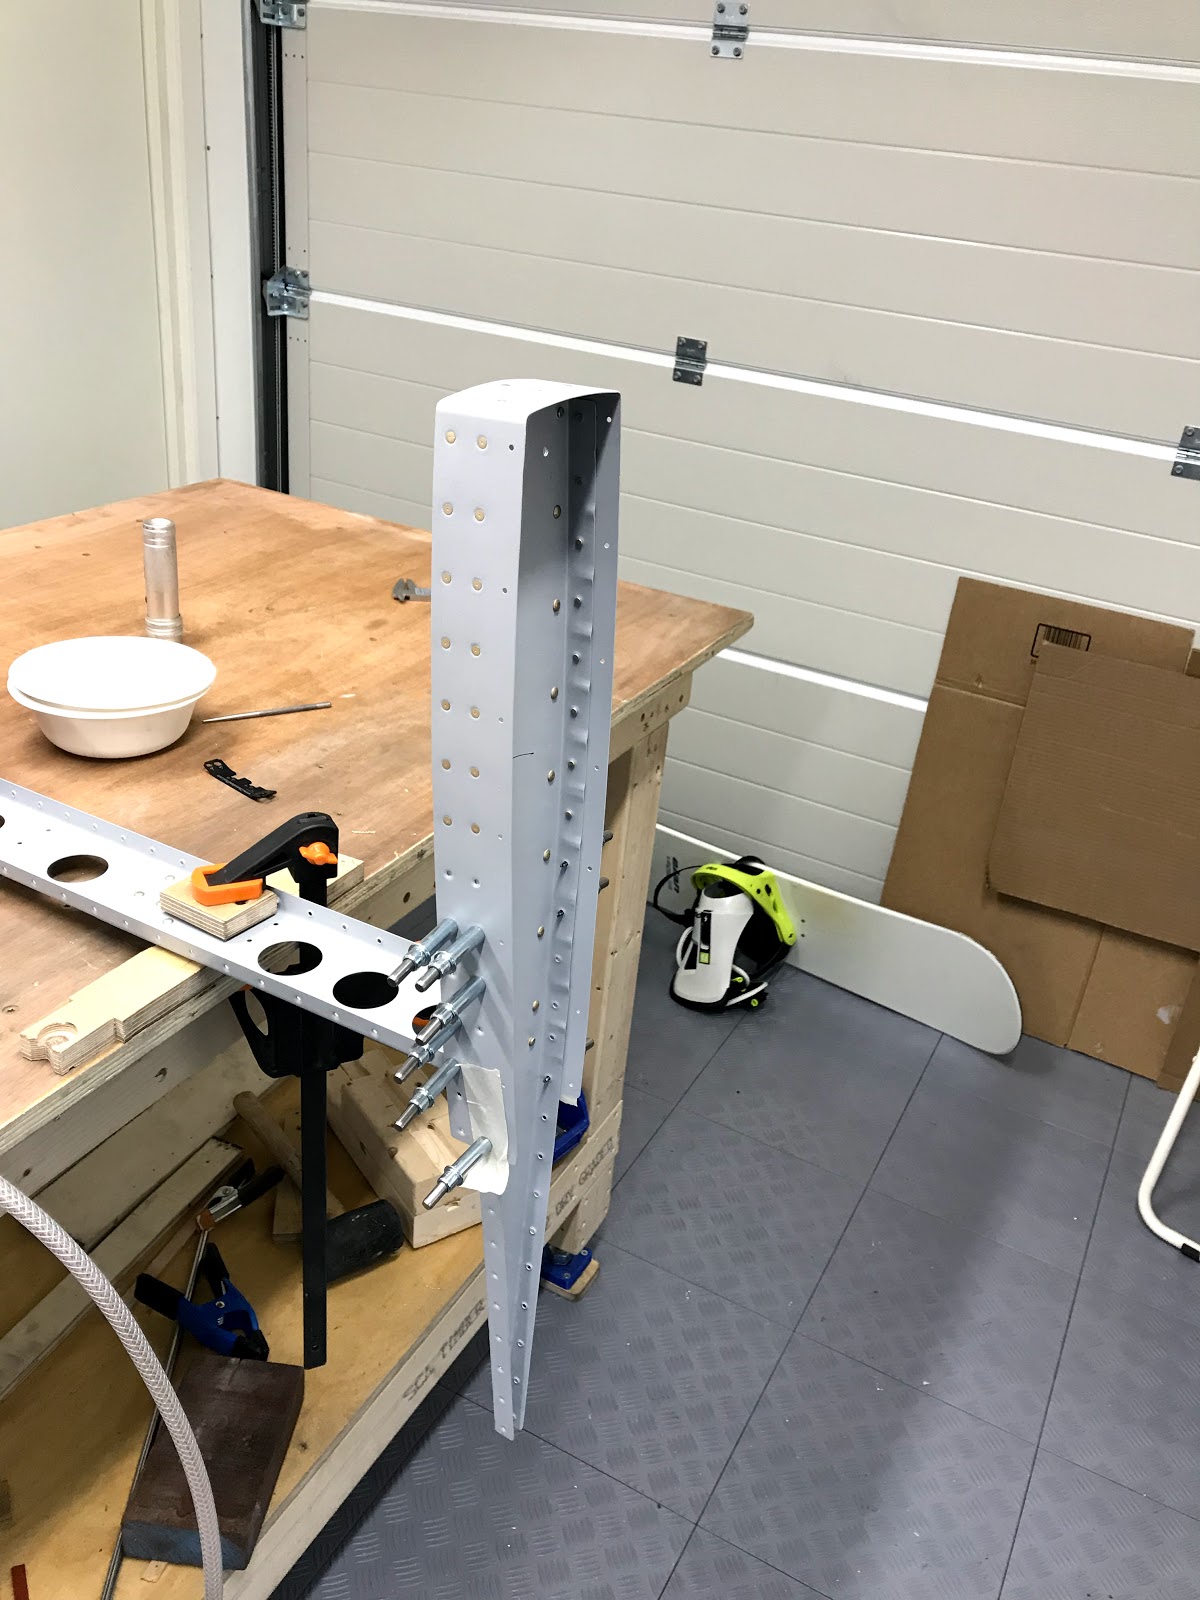 |
| The tip rib assembly was then riveted to the front spar (L & R). I struggled a bit with the rivets joining the spar and the tip rib assembly, and had to drill out a few. It's a bit tight for the squeezer. Then the counterbalance skins were riveted onto tip rib the assembly. |
 |
| The L & R spar assembly completed. |
 |
| The left skin is riveted to the rear spar. I hung the whole assembly on some wood pieces fixed to the working table. |
 |
| Same on the right. This arrangement made it quick to set those rivets. |
 |
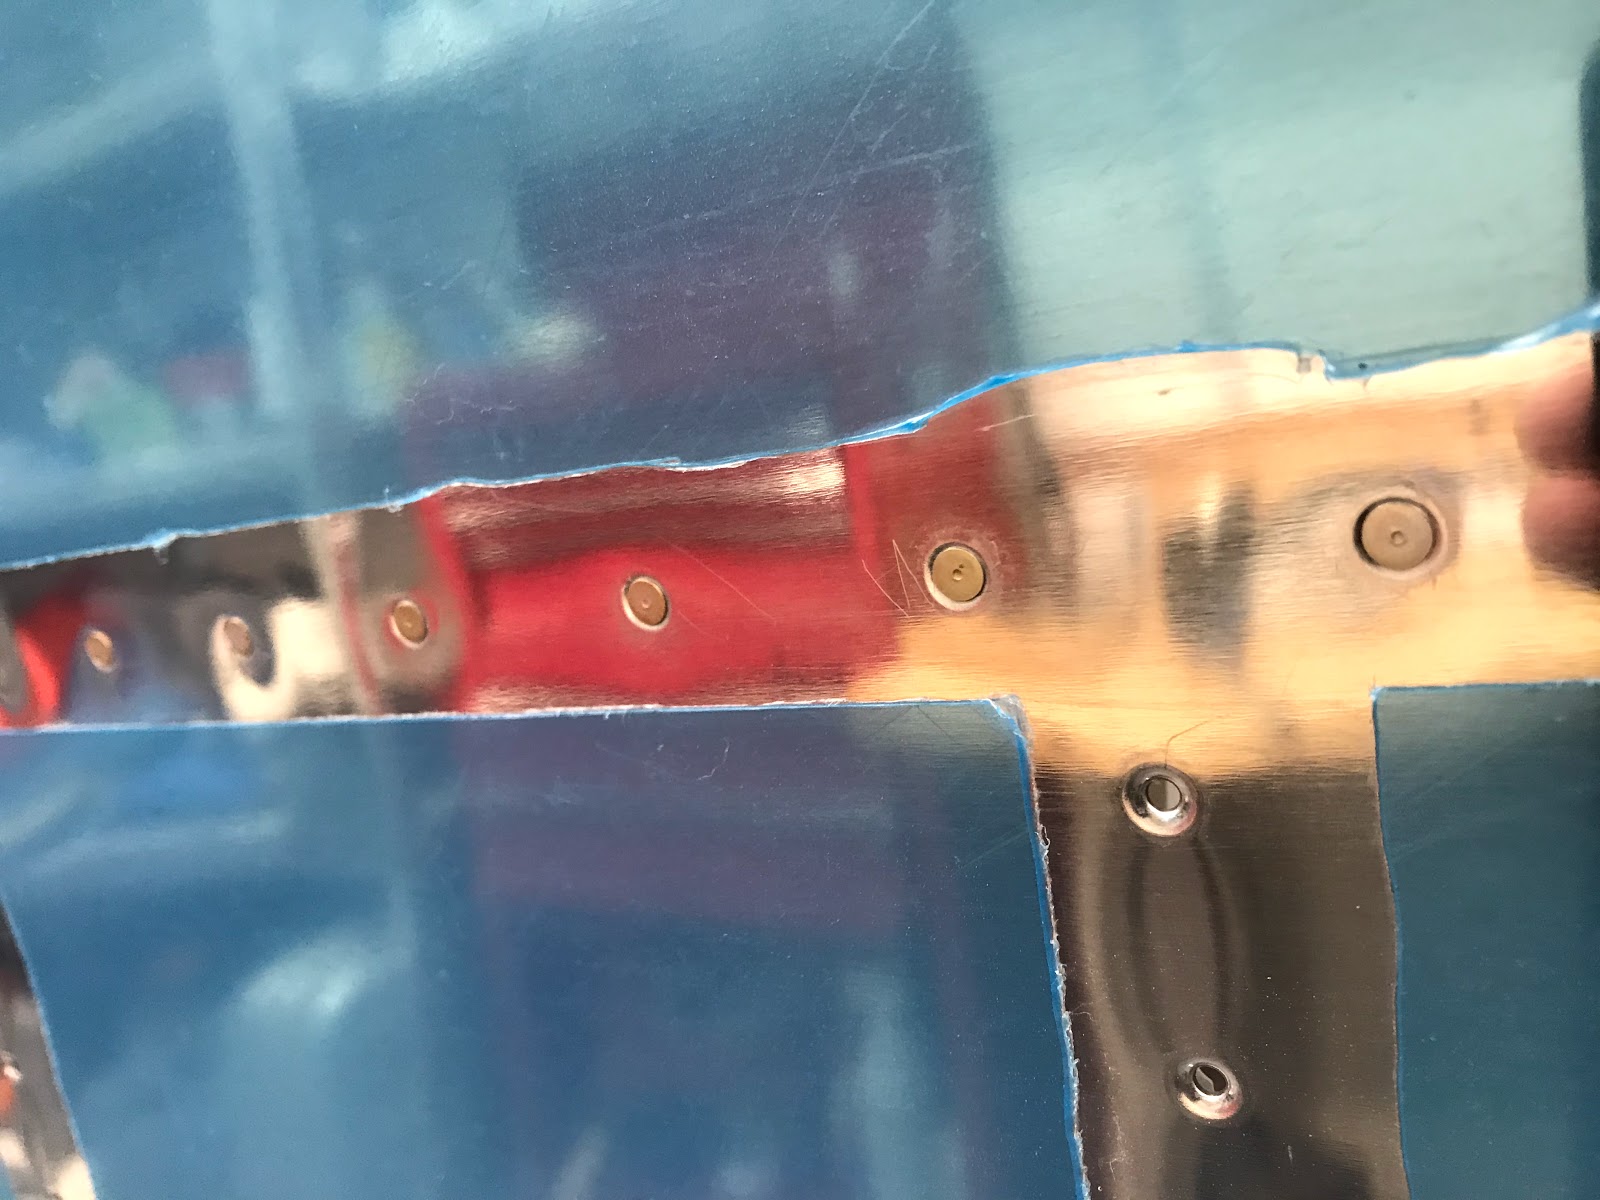
| I found a suggestion somewhere about putting sport tape on the mushroom set, and that worked very well. It leaves less marks, and it's easier to keep it steady against the skin while pulling the trigger. |
 |
| All the internal ribs (E-1008A/B) is back riveted onto the skins. That is easy work as long as you don't miss the back plate. I use cross laser from the roof directed onto the center of the plate to guide me. |
 |
| I was a bit worried of how the riveting the rear spar with the special bucking bar would work out. It turned out to be an easy task. Below is a video showing it. |
 |
| Both elevators ready to get their front spar assembly riveted on, and then the trailing edge with the foam ribs glued in with tank sealant. That's another exiting task never done before. |
 |
| I'm quite satisfied with the quality of the riveting work😁 Learning by doing and reading. Sports tape on the mushroom set and a relatively low setting on the gun, gives very good result. |
Comments
Post a Comment