Posts

Showing posts from March, 2019

Elevator is 97% finished!

Image
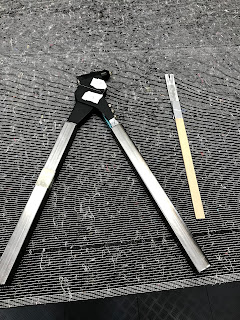
The elevator is now basically complete. The only things remaining is to install the connector on the trim servo motor, fastening the tip lead weights and 4 mk-319-bs rivets that I'm short of. I will receive the Micro Molex crimping too l from Stein Air tomorrow, so that I can complete the servo motor wiring. Next I'm going to do as much as possible on the fairings (chapter 12) for the vertical stabilizer, rudder, horizontal stabilizer and elevator. I did have to extend the handles on the blind rivet tool be some square steel tubes (28x28mm). The extended handles made squeezing those aft rivets easy. The servo trim opening from the inside. I used two small 3 mm nuts to reach two rivets on the trim servo attachment assembly. I was a bit inattentive when setting the rivets on the left root gusset, so I got a small dent below the rivet head. I just worked it smooth with Scotch Brite pas and applied primer again. Riveting the front spar. Re...

Elevator progress

Image
I've worked another 27 hours since last post (3. March), and status is now that I'm ready to pull the  blind rivets on the internal ribs (E1008), and then to proceed with riveting the front spar assembly to the left and right skin assembly. My goal is to have the elevator completed by next weekend. I've ordered the crimp tool from Stein Air required in step 09-24 step 10. I also added some extra pins and sockets in case I should scrap some of the supplied one (they are quite small). The skins ready for priming (Friday 8th March). A lot of dimpling has to be done. Dimpling the skins with the c-frame. The manual calls for AD3-3.5 rivets on the Elevator Trim Pushrod, but that is definitely to short. 4.5 length fits perfectly.  I used the squeezer to double flush rivet the three parts together. The two trim tab parts ready for rivets. The contact areas for the foam bars is scuffed. I had forgot one of the areas, and had to mask up the ...

Elevator parts primed

Image
All elevator parts are now deburred, scuffed, etched and primed. I didn't get time to prime the skins, but they are ready and will be etched and primed on friday. The hole common to the hinge and the top flange of the bar is machine countersunk. The remainder holes in the bar will be dimpled, but that I'll do after priming.  61 parts cleaned (Aceton) and ready for EkoEtch. 61 parts ready for primer. This time I got my 3M Accuspray gun to work. The problem was that I used my wall air regulator and not the supplied gun air regulator.