I've already completed the simple 3 part training kit, and my intention is now to build the wing section they way I'll assemble the aircraft. That is drill, debur and dimple all parts before priming and finally riveting.
 |
| Just about to start on the wing section |
 |
| Clecoed together. Ready to start with the trailing edge. |
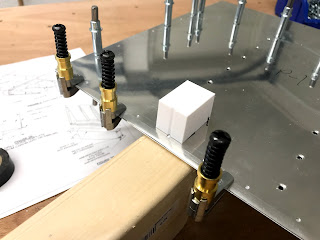 |
| I quickly made a jig on the 3D printer to drill the trailing edge at 84° as called out. |
 |
It look straight, but the wedge slipped without
I noticed it. See below. |
 |
A mistake!. The wedge slipped - the clamping was
not good enough. |
 |
| Adjusting the counter sinker on a scrap piece. |
 |
Dimpling the skin. This is just so easy with the C-frame
from Cleaveland tools. |
Priming
I have decided to use the
Stewart System EkoPoxy primer (Smoke Gray color). It is a waterborne Epoxy Primer. It requires an etching process first, which can be done with EkoEtch diluted with water in the ratio 1:2.
 |
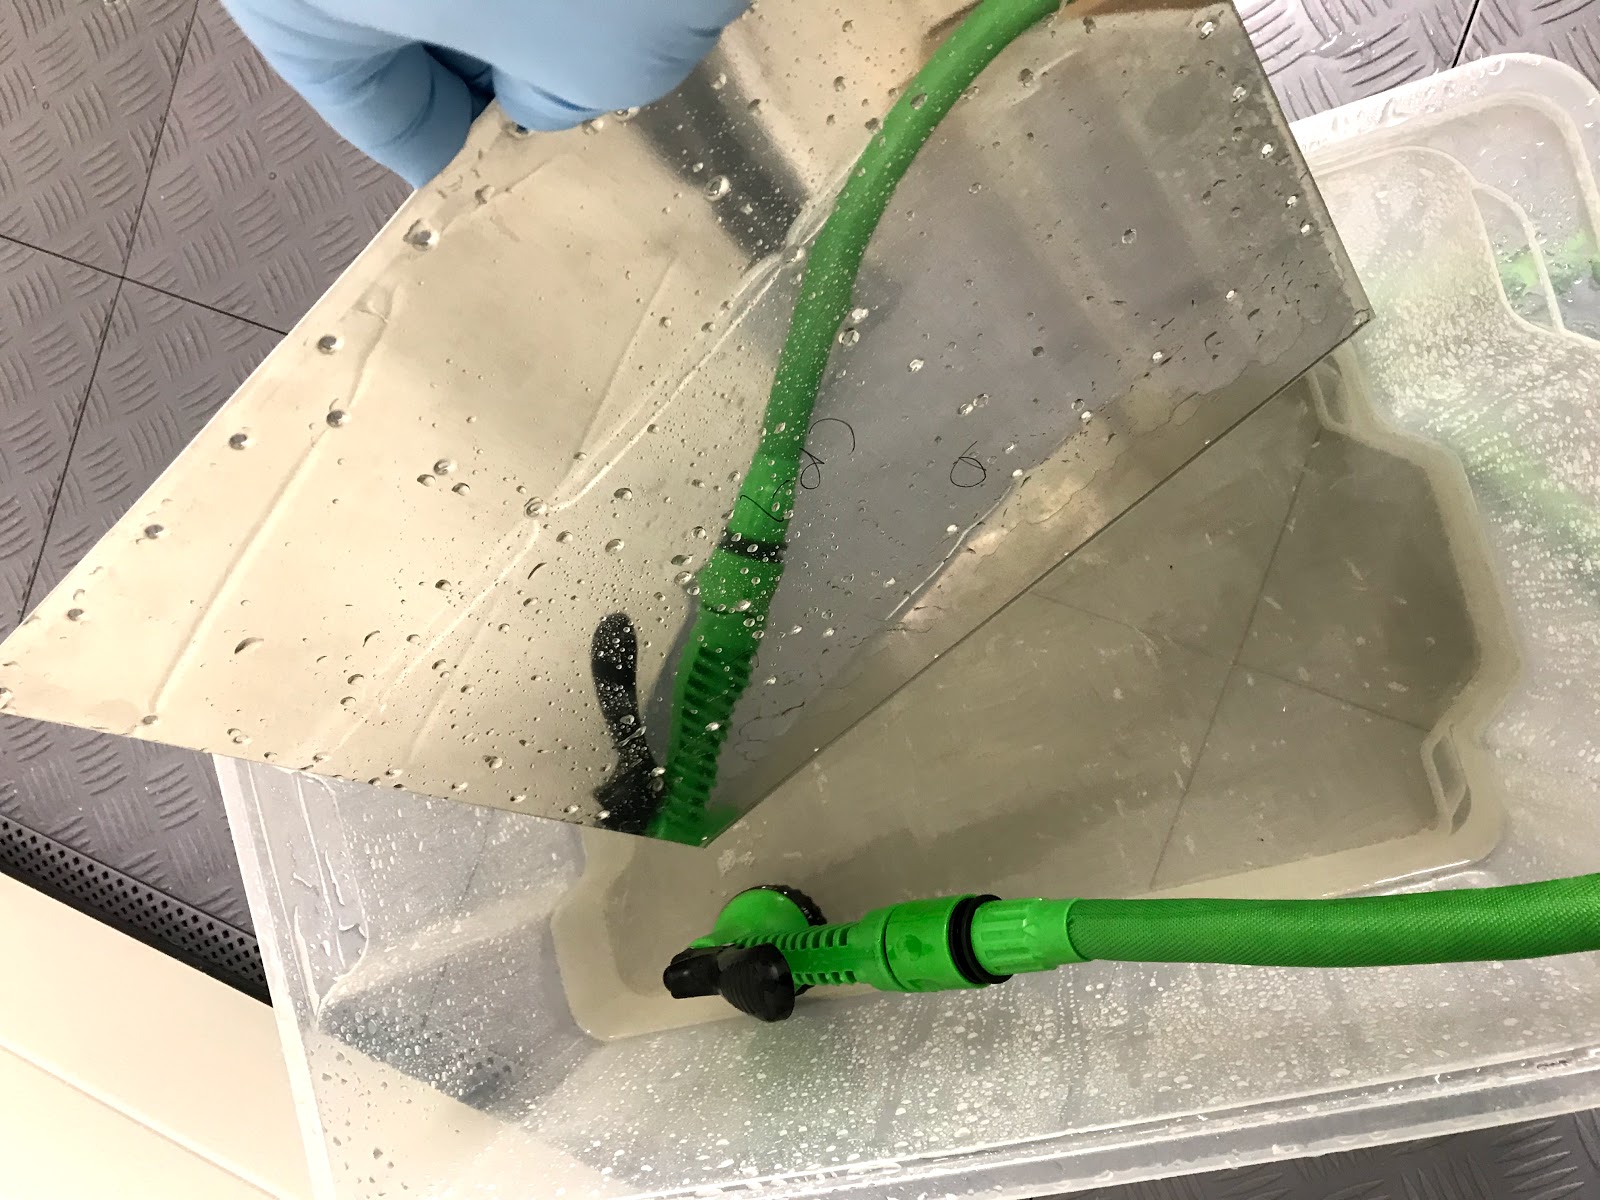
I covered the bench with plastic and sprayed EkoEtch on
and scrubbed with a scotchbrite pad. |
 |
The etch must be able to work for at least 3 min. One challenge is that the part markings
are gone after cleaning/etching, so I made sure that the parts was laid out in
a system that made easy to add new markings. |
 |
| One of the skin scrubbed. |
 |
| Then cleaning with water. |
Spraying the primer
I had briefly tested my spray booth before, but I was very excited to see how the priming would work out. Priming will definitely add up on the build time, so I'm very eager to get this as efficiently as possible.
 |
I tried to spray some part hanging on the wall,
ad others on the table. |
 |
| Good protection is essential. |
 |
| All finished! |
Lesson learnt so far
- The ventilation works great.
- Mixing went ok. I used volume in the ratio 5:1:1 (EkoPoxy, catalyst, distilled water), and filtered it through a paint strainer. I mixed a total of 1.4 dl. and that was to much. I used syringes to get precise volumes. I might get a scale later.
- I need more light over the the table. As the primer is grey it is difficult to distinguish it from the part and to know when it's covered.


Comments
Post a Comment